

Getting Started
Setting up FullDay begins with a short registration process that prepares your organization for use.
The registration consists of three steps:
-
Create your account — Create your personal account using your name, email address, and password.
-
Create your organization — Create your first organization by providing its name. This organization becomes the workspace where you’ll manage your locations, services, specialists, bookings, and clients.
-
Choose a subscription plan — Select the plan that best fits your business. If you arrived from the pricing page with a plan already selected, registration keeps that choice and still lets you pick another plan.
Once registration is complete, Full Day opens guided onboarding. That wizard walks you through business details, the first location, hours, staff, a service, and booking settings so the organization can accept its first booking. You can skip the wizard and resume later from the dashboard Continue setup card.
What is FullDay?
Section titled “What is FullDay?”FullDay is a modern online booking platform designed to help businesses manage appointments, staff, locations, and customer communication from a single platform. Your customers can browse services, choose a time that works for them, and confirm their booking — while you manage everything from a central admin dashboard.
FullDay is built to support day-to-day operations across multiple locations and specialists, with organization-level settings that keep each business configured the way you need it.
Who is FullDay for?
Section titled “Who is FullDay for?”FullDay is designed for business owners and administrators who want a straightforward way to accept and manage bookings online. Whether you run a single location or operate across multiple sites with several team members, FullDay gives you the tools to set up your services, share a public booking page, and stay on top of appointments from one place.
What can you do with FullDay?
Section titled “What can you do with FullDay?”FullDay helps you:
- Accept online bookings through a public booking page
- Manage bookings, clients, and schedules
- Run multiple locations and specialists
- Guide daily salon opening checks and record opening cash
- Communicate with clients via SMS and email
- Customize your organization settings
- Collect signed digital forms
- Manage subscriptions and billing
- Handle customer messages from email, Messenger, and Instagram in one inbox
How FullDay is structured
Section titled “How FullDay is structured”FullDay is split into two main parts that work together:
Public Booking Portal
Section titled “Public Booking Portal”This is the page your clients see. They can explore your services, check available times, and complete a booking on their own — without needing to call or message you. The portal also supports client self-service, so customers can reschedule or cancel appointments when needed.
Admin Dashboard
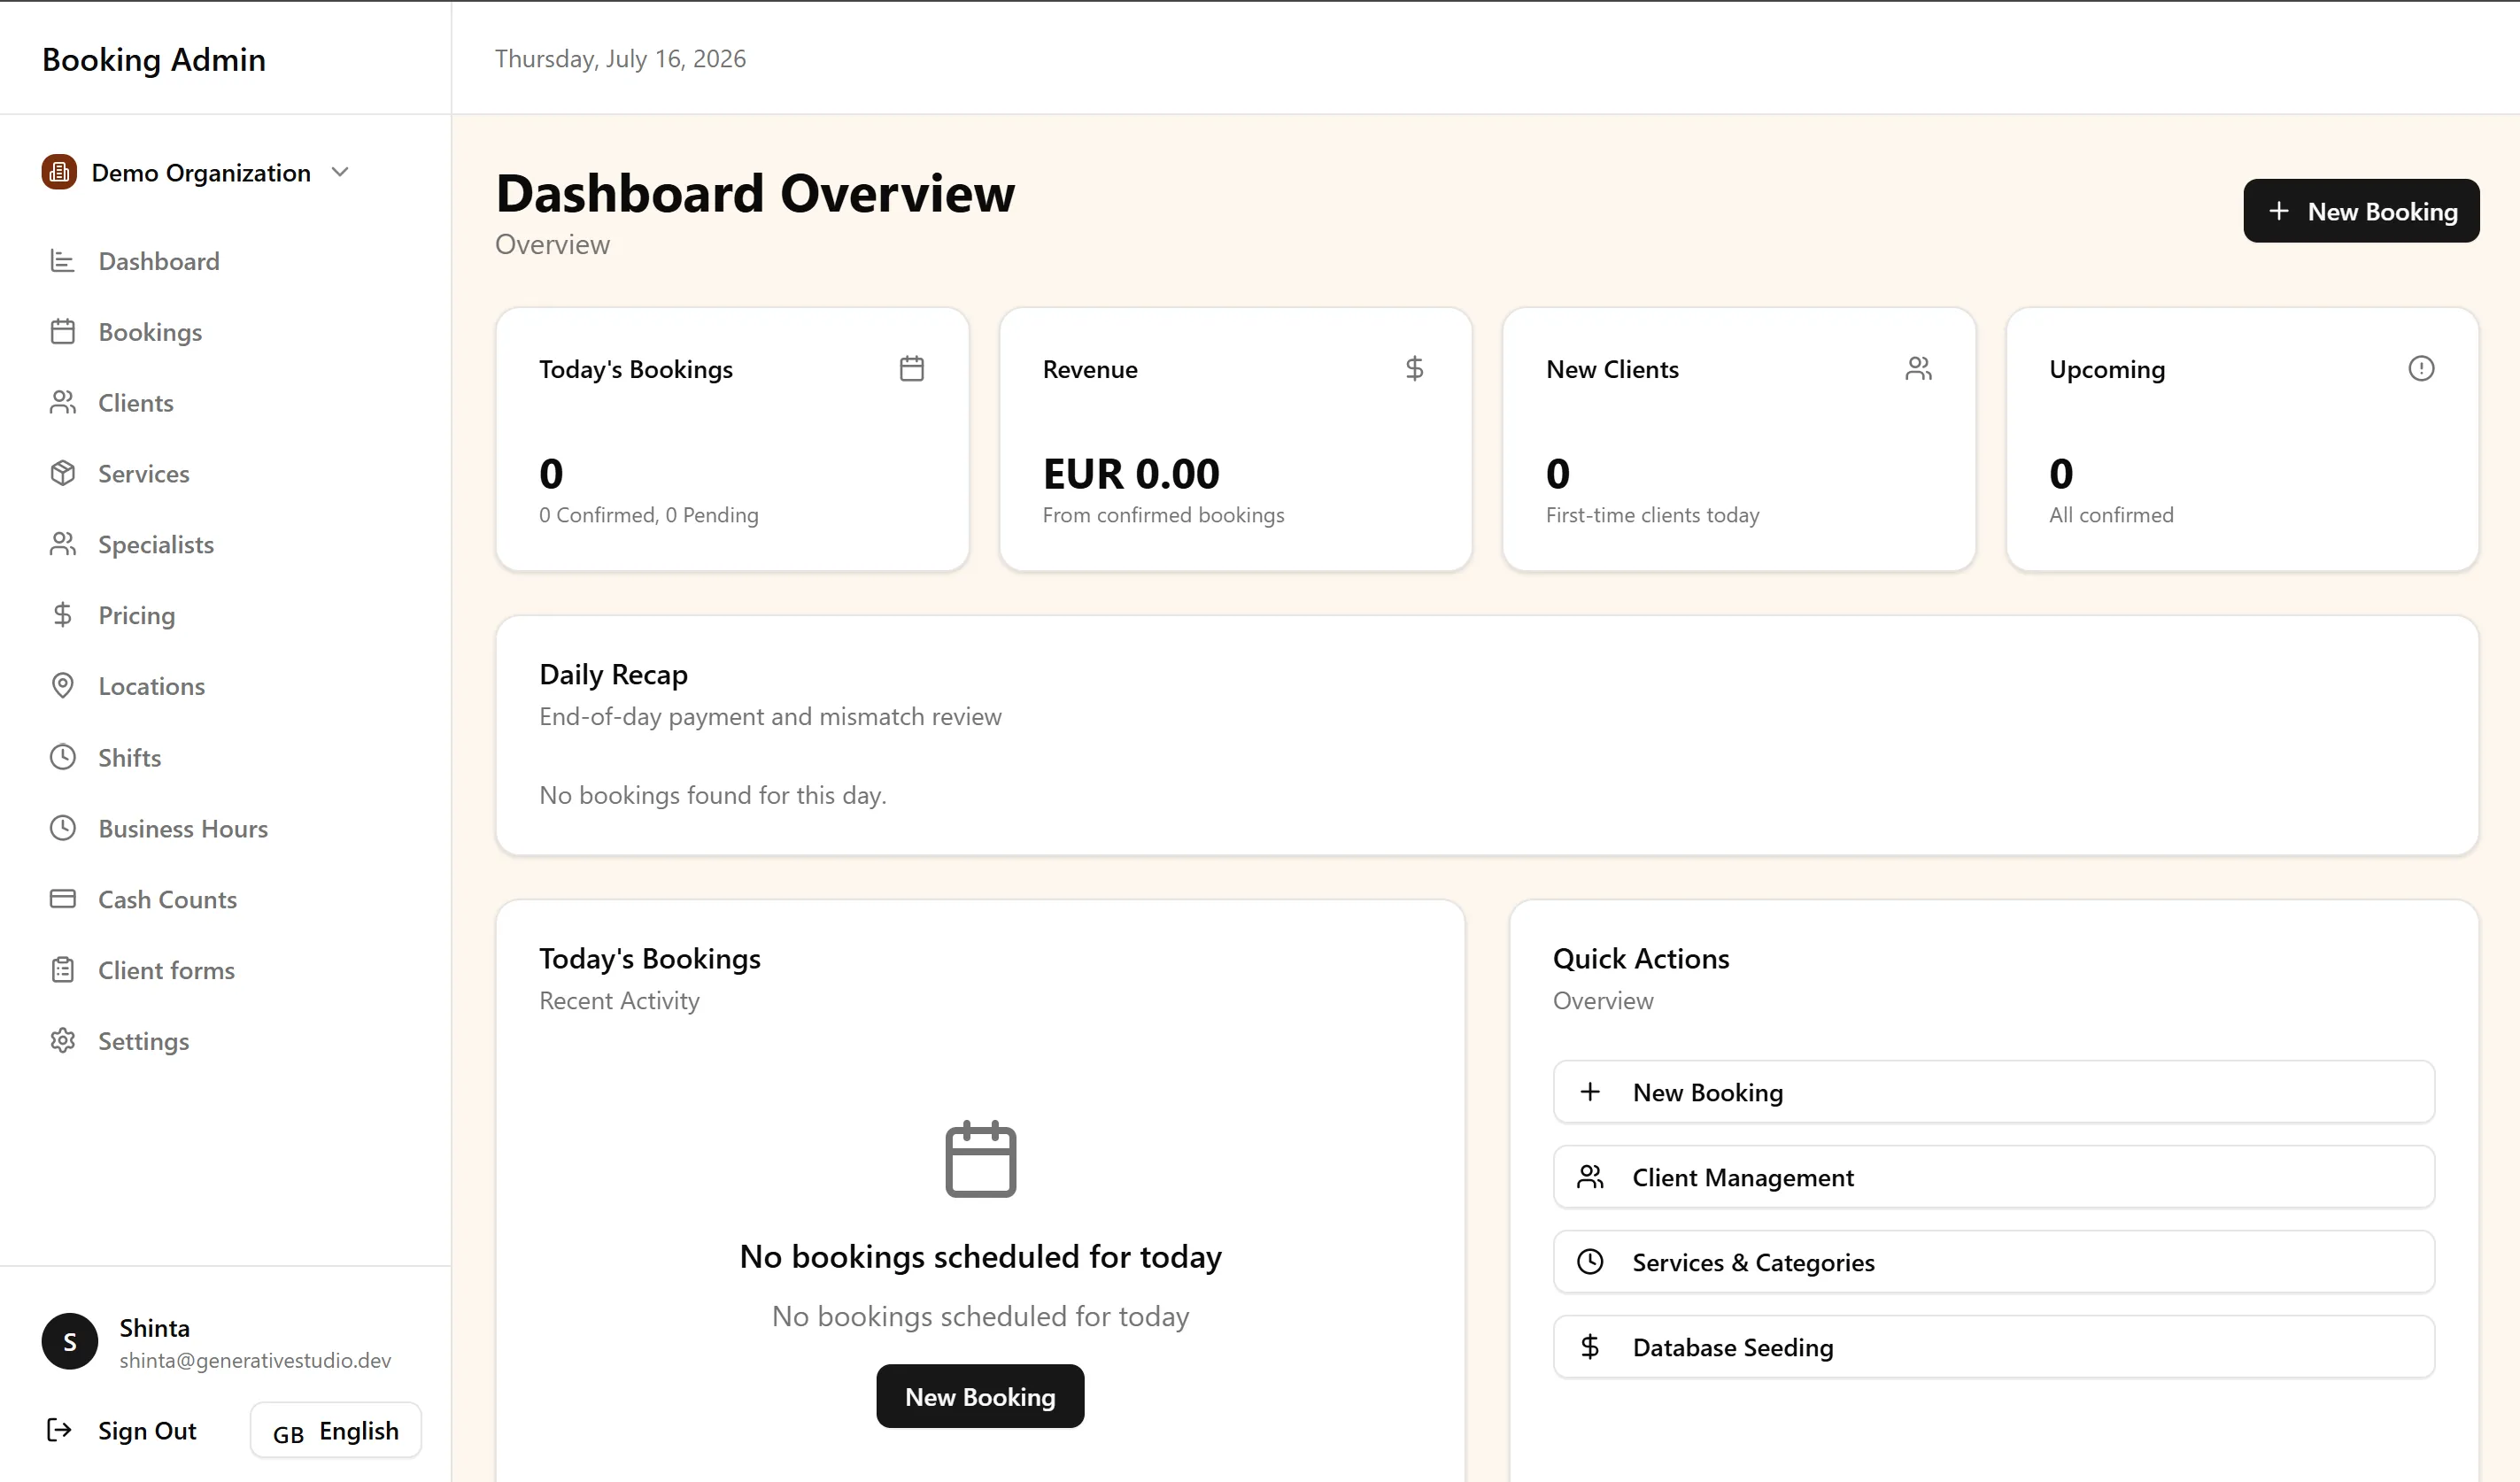
Section titled “Admin Dashboard”This is your control center. From the dashboard, you and your team can configure your organization, manage bookings and clients, set up services and specialists, and handle the operational side of your business — all in one secure environment with role-based access.
The home page Overview card shows Booking Rate, Client Retention, and Avg Revenue/Day for the last 7 days. Those values come from your bookings. Until there is activity in that window, Overview shows no data instead of a number.
Your typical workflow
Section titled “Your typical workflow”Once you’ve completed registration, getting your business ready follows a simple path:
-
Complete guided onboarding — Enter business details, add the first location and hours, add staff, create a service, and choose a booking mode. Finish setup creates the first eight weeks of shifts. See Guided Onboarding.
-
Review locations, services, and specialists — Add more locations, services, or specialists from the dashboard when you need them. This is what powers the availability your clients see when booking.
-
Share your booking page — Direct clients to your public booking portal. They can browse services, pick a time, and confirm their appointment on their own.
-
Receive bookings — As clients book, a confirmation email is sent automatically. You can also turn on SMS and email appointment reminders in Settings. You can create bookings from the dashboard for walk-ins or phone requests.
-
Manage bookings from the dashboard — View and manage all your bookings from the admin dashboard in both table and calendar views.
-
Run the daily opening flow: Enable Opening Flow in Settings → Daily operations, configure your salon condition checklist and any daily meters, and review the opening reports submitted by specialists.
-
Run the daily closing flow: Enable Closing Flow in Settings → Daily operations, configure your closing checklist, and review closing reports submitted near the end of each shift.
Next steps
Section titled “Next steps”Continue with these guides to complete your initial setup:
-
Guided Onboarding — Finish the six-step setup that prepares your first booking.
-
Locations & Organization Settings — Configure your organization, locations, business hours, and organization-wide settings.
-
Services, Specialists & Scheduling — Add your services, specialists, and availability.
-
Opening Flow: Configure daily opening checks, opening cash, daily meters, and administrator reports.
-
Closing Flow: Configure daily closing checks, closing cash, daily meters, stock usage, and administrator reports.
-
Company Handbook: Add emergency contacts and scenario instructions staff can open during an operational emergency.
-
Emergency Cancellation: Let specialists cancel upcoming bookings and notify customers by SMS and email when they cannot attend work.
-
Booking Portal — Learn how customers browse services and book appointments online.
-
AI Assistants. Connect Claude or ChatGPT for day-to-day booking and shift work (early access).
-
Booking Management — Learn how to manage appointments from the Admin Dashboard.
If you have questions along the way, check the FAQ for answers to common setup questions.